Guide
•
3 min read
•
Updated May 2026
Uploading Audio or Video Files
Use uploads when the recording already exists on your device, from a phone, recorder, video meeting, or interview.
Upload workflow
- Open the workflow where the file belongs: Clinical for visits, Interview study for research interviews.
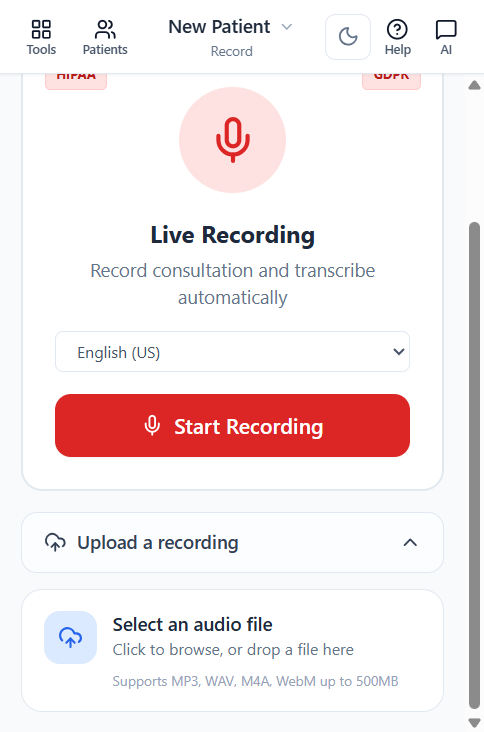
- In Clinical, expand Upload a recording on the recorder card and click or drop a file.
- Wait until upload and transcription are complete before closing the page.
- Open the transcript and review speaker names, medical words, and any sensitive identifiers.
Supported file types and limits
Clinical accepts audio/video files up to 500 MB in MP3, WAV, M4A, WebM, MP4, OGG, or FLAC. Interview studies accept the same audio/video formats and additionally let you import existing transcripts as TXT, Markdown, VTT, SRT, DOCX, or PDF — useful when you already paid for transcription elsewhere or were given source text.
Tips for clean uploads
- Trim long silences or non-clinical chatter before uploading to keep transcript focus and reduce minutes used.
- Files exported from a phone, dictation device, or video meeting work well as long as the speech is clear.
- Re-upload as MP3 or M4A if your original codec is unusual; these are the most reliable in-browser.