Guide
•
3 min read
•
Updated May 2026
Recording Audio
Record a visit directly in the browser and turn it into an editable transcript and clinical note.
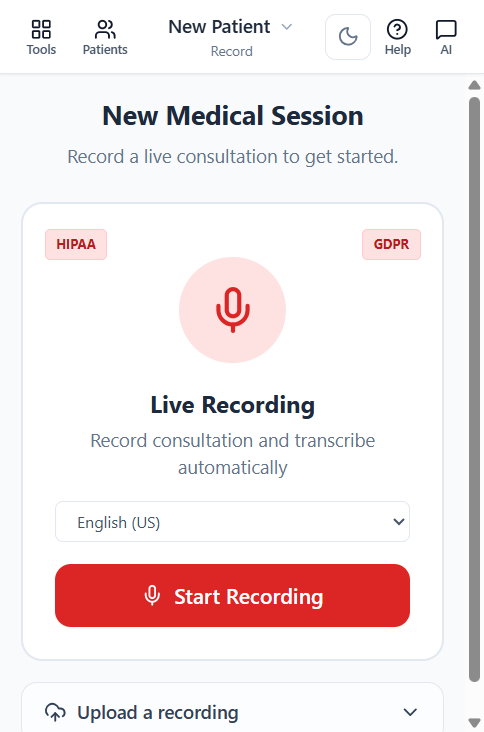
Step by step
- Open Clinical and choose or create the patient (or start without one for a quick session).
- Pick the spoken language from the language menu (English (US) is default; 30+ languages are supported).
- Press Start Recording and allow microphone access when the browser asks.
- Speak clearly, stop recording when finished, and wait for processing.
- Review the transcript (with speaker labels and timestamps) before generating or filing notes.
Audio quality tips
- Use a quiet room and keep the microphone close enough for clear speech.
- Pause briefly between major sections if you want easier review later.
- Always verify medical terms, doses, diagnoses, and names before use.
- If you are interrupted, stop and start a new recording rather than leaving long silences in the audio.
Patient consent and compliance
Recording happens through your browser and is processed under HIPAA and GDPR-aligned controls (the badges on the recorder reflect this). Tell the patient you are using AI to draft notes and follow your local consent policy before pressing record.